

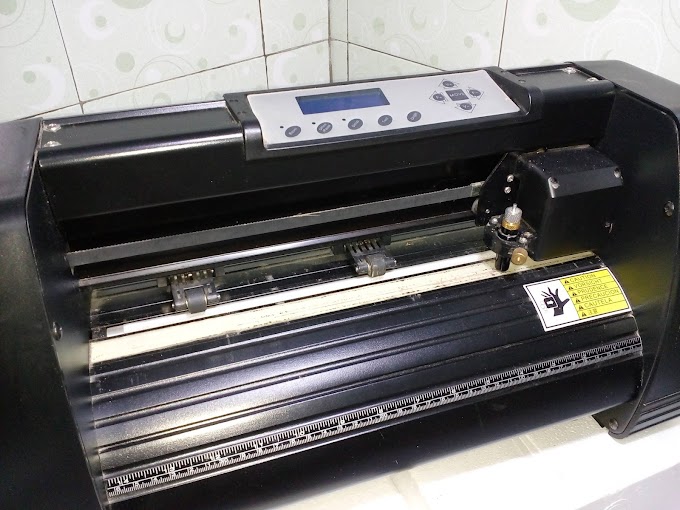
Someone might need a tutorial how to use MT-365 Cutting Plotter with CorelDraw in the Windows Operating System, I will share information about it, from installing the drivers through the operation with coreldraw. I use Windows 8.1 and CorelDraw X7, the following steps :
- First, Install the driver CH341SerSetup_EN.exe you can download from here Download Driver,
- Run the .exe and follow the steps to install the driver,
- After finish connect Cutting Plotter to the computer,
- Check Device Manager to knowing the COM Number,
- Look at the Ports (COM & LPT) there are USB-SERIAL CH340 (COM#),
- Enter Devices and Printers then Add a printer,
- Stop the searching for available printers and then click The printer that I want is not listed,
- Select Add a local printer or network printer with manual settings click next,
- Use an existing COM port and select the same COM Number with USB-SERIAL CH340 in device manager click Next,
- Select GOLDCUT on Manufacturing and select GOLDCUT JK Series click next and finish, you have to add Cutting Plotter read as a printer.
- Last, open CorelDraw and create an object, for example a square,
- Right-click convert to curve,
- Click on object properties and change the outline width into hairline,
- Click Print or press Ctrl + P click print preview to adjust the position of the object and print, see! the cutting plotter works.


